


Neglected Integra GS-R K-Swap Build - 500WHP or Bust
Can we make 500whp from a stock K20Z3 stuffed into our ratty old DB8 Acura Integra GSR sedan?
Thanks to K-Tuned, we're going to find out!
Speed Academy is a website and YouTube channel based on making things go fast and enjoying cars. Peter Tarach and Dave Pratte are the forces behind Speed Academy.
The TTAC Creators Series tells stories and amplifies creators from all corners of the car world, including culture, dealerships, collections, modified builds and more.
A transcript, cleaned up by AI and edited by a human staffer, is below.
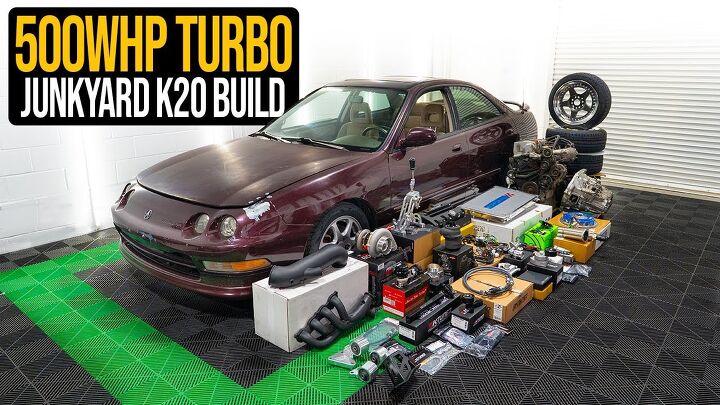
[Image: Speed Academy/YouTube Thumbnail]
Become a TTAC insider. Get the latest news, features, TTAC takes, and everything else that gets to the truth about cars first by subscribing to our newsletter.
Transcript:
Welcome to our latest build. We’re taking a high-mileage, greasy old K20Z3 and dropping it into our equally old and greasy DB8 Integra. The goal is to combine it with these parts and see if we can make 500 wheel horsepower. We’ve never played with turbo K-series engines before, so the big question is whether an internally stock K20Z3 can make 500 wheel on pump gas. Stick around to see if we make the power or scatter rods.
The biggest question mark in this build is the K20Z3 itself. It came out of an eighth-gen Civic, and the mileage is high—around 260,000 miles according to the seller. As you can see, it’s pretty worn. The oil cap is broken, which isn’t ideal, and everything is rusty and grimy. The timing cover looks rough, there’s evidence of a blown axle boot, and the whole thing is generally nasty. That said, we’ve run engines in similar condition before with great results, so we’re not judging it just yet.
The first step is pulling accessories and power-washing the engine, then doing the same to the engine bay. Everything is filthy, so we might as well clean it all at once.
Once the valve cover came off, things looked promising. There’s not much sludge, the internals are clean, and it looks like oil changes were done regularly. We didn’t see any obvious timing chain issues either, so overall the engine seems healthy.
We started installing parts and everything went smoothly—right until the last minute. I forgot to clean one area before painting and ended up with a single paint run. I’m leaving it. It’s a reminder to slow down and do things properly.
We chose a stainless-steel–style finish, which works well with the already weathered look of the engine. Chris supplied us with Street Legacy hardware bolts for the K-series timing cover, and we’ll be using these throughout the build. Proper torque is important here, since these bolts can snap if overtightened. They’re torqued to just 12 Nm.
We didn’t bother repainting the stock valve cover because we replaced it with a new K-Tuned unit. It has large breather ports that the OEM cover doesn’t offer, along with a K-Tuned oil cap. We had to wait for John from K-Tuned to stop by with the tensioner cover we forgot to order.
John explained that the redesigned tensioner cover uses an O-ring instead of sealant, making it easier to remove and inspect without creating leaks. They also offer a version designed for top-mount turbo setups that allows the oil return to go directly into the cover, which doesn’t work for side-mount applications like ours.
While John was there, we talked about K-Tuned’s oil cooler sandwich plate. Even though we’re not running an oil cooler on this winter turbo build, the design addresses a common issue: oil filters backing off due to vibration. Their solution uses a locking nut to prevent the filter from loosening, along with internal set screws and O-rings so you don’t need two wrenches in tight spaces.
We also swapped to a larger 72 mm K-Tuned throttle body with a Hall-effect TPS. Hall-effect sensors are non-contact, so they don’t wear out like traditional TPS sensors, which can fail due to vibration in modified setups.
Since we’re running boost, the stock MAP sensor won’t work. We installed a bolt-on four-bar MAP sensor and discussed other mounting options, including remote-mounted sensors for tight engine bays or custom manifolds. K-Tuned offers sensors up to seven bar, with various mounting solutions depending on the application.
We also looked at K-Tuned’s tenth-gen Civic shifter box. It’s tall, which works well for our Integra, and includes gear lockout features to prevent money shifts during racing. Once you’re in third gear, you can lock out first and second, and it also includes a fifth-gear lockout for drag racing applications.
John talked about knockoff parts being one of the biggest challenges they face. Many of K-Tuned’s designs have been copied directly over the years, sometimes even with their logo. Nearly all of their products are designed in-house, based on real problems encountered through racing and long-term experience.
After John left, we swapped the bulky upper water neck for a compact K-Tuned unit to improve turbo clearance. We also replaced the lower water neck with K-Tuned’s adjustable, swivel design, which lets us orient the radiator hose exactly where we need it—especially useful for K-swapped chassis.
Since this is a turbo setup, we upgraded the fuel system. The stock single-feed fuel rail and small injectors won’t cut it. We installed a K-Tuned fuel rail with Injector Dynamics 1050X injectors. Injector choice is critical on turbo cars, and these are true motorsports-grade injectors. The rail uses a center-feed design, which keeps the setup clean and symmetrical, and all fittings are included.
The K20Z3 doesn’t use hydraulic power steering, so we deleted the pump entirely using an adjustable bracket that allows for belt length tuning. While inspecting parts, we noticed the alternator housing was cracked. We replaced it with a rebuilt OEM Honda alternator from a K20A2, using a small spacer to align everything correctly.
We installed the K-Tuned belt and idler pulley. Fitment was tight due to the slightly larger Z3 crank pulley, but the adjustable tensioner made it work.
The stock oil pan was reused with a welded bung for the turbo oil return. Because the Z3 uses a balance shaft oil pump assembly, there are no aftermarket oil pan options. While some people delete balance shafts for high-RPM builds, this turbo street car won’t be revved aggressively, and many builders have found these setups to be reliable.
Since we’re going turbo, we upgraded the clutch and flywheel. We used a Spec lightweight aluminum flywheel and a Spec Stage 3+ clutch, rated for 383 lb-ft of torque. It still uses a sprung hub, making it street-friendly. Spec balances the flywheel and clutch together, and alignment marks show exactly how to install it.
The stock release bearing was completely worn out, so it’s a good thing Spec includes a new one. The difference between the old and new bearing was night and day.
With the transmission installed, the long block is complete. It still has some rusty brackets and hardware, but that suits the car. This build is about function over form.
Next up is the turbo system. We’re using an R-Tech turbo manifold paired with a Precision 6062 ball-bearing turbo, which should be capable of 500 wheel horsepower. The cast R-Tech downpipe is a standout piece, with a large 3.5-inch outlet and excellent workmanship. The Precision wastegate routes back into the downpipe for a clean, quiet street setup—no screamer pipe here.
Everything looks fresh, but the big question remains: will this setup actually make 500 wheel horsepower? You’ll have to stay tuned to future episodes to find out.
Thanks for watching, and a big thanks to K-Tuned for supporting the build. We’ll see you in the next one.

Speed Academy is a website and YouTube channel based on making things go fast and enjoying cars. Peter Tarach and Dave Pratte are the forces behind Speed Academy.
More by Speed Academy, TTAC Creator


Comments
Join the conversation
I’m trying to understand why but failing miserably.
Have we gotten to the point with these that the 4 door is the only attainable version?